In this article I will give you step-by-step guide on “How to screen record on iPhone 14 models” with graphics examples.
The screen recording feature on the iPhone 14/14 Pro/14 Pro Max is incredibly useful for capturing and sharing on-screen events.
Whether you’re aiming to create engaging tutorials, show off your gaming accomplishments, or record content from a website, you can achieve all this with the help of a screen recording tool or an online screen recorder.
Thanks to technological advancements, screen recording has also become more accessible on Mac computers.
Advanced software like EaseUS RecExperts makes it a breeze to record your Mac screen. In this article, we’ll provide a step-by-step guide on how to perform screen recording on both your iPhone 14 Pro Max and Mac. Whether your goal is professional or personal, these instructions will help you become proficient in the screen recording process.
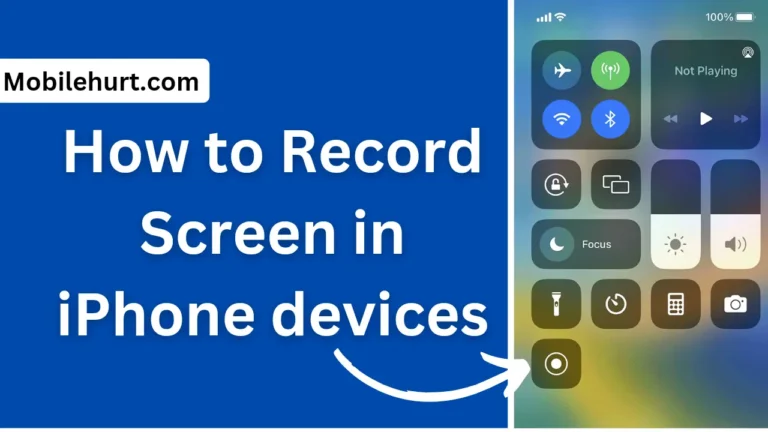
How do I add screen recording to my iPhone 14/14 pro/ 14 Pro Max widget?
First, let’s ensure that you have access to screen recording on your iPhone or iPad. Every device running iOS 11 or a more recent version comes equipped with this handy feature. However, we’ll need to add the “Screen Recording” button to your Control Center for easy access.
Here’s how to do it:
- Open the “Settings” app on your iPhone or iPad.
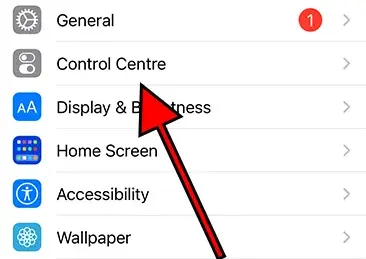
- Tap on “Control Center.”
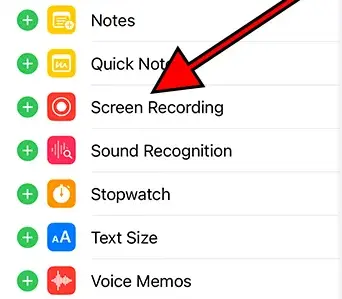
- If you don’t see “Screen Recording” in the “Included Controls” section, simply scroll down and tap the “+” icon located next to it.
And that’s it! You’re now all set to start creating screen recordings.
How to screen record on iPhone 14/14 Pro/14 Pro Max
Recording your Apple iPhone 14/14 Pro/14 pro max’s screen with audio can be super helpful, whether you want to create a tutorial or show someone how to do things on the phone. You can save it as a video file and then share it on YouTube or social media.
Sometimes, you might want to record a video with sound of an Instagram story from a friend, a phone call, or a FaceTime call with family for keepsakes or as evidence, or maybe for a TikTok video.
Here’s how to do it on your Apple iPhone 14/14 Pro/14 pro max:

Step 1
First, make sure that screen recording is enabled on your iPhone 14/14 Pro/14 pro max. If it’s already activated, skip to step 5. To check, open the “Settings” app, which you can find on your iPhone 14’s home screen.
Step 2
Scroll down through the menu on the left until you see the “Control Center” section, and then tap on it. Afterward, select “Customize controls.“
Step 3
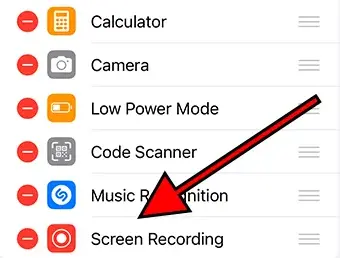
If the screen recording control is already enabled, it will be in the first list under the “INCLUDE” section. You can change its position by tapping and dragging the three horizontal lines on the right or remove it by clicking the red button on the left.
Step 4
If you don’t see the activated control, scroll down to the “MORE CONTROLS” section, and you’ll find it there. Tap the green “+” button to add it. Once done, exit your iPhone 14’s settings.
Step 5
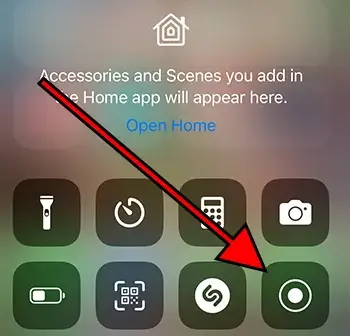
For iPhones 7 and earlier, or iPads with iOS 11 or earlier, swipe up from the bottom of the screen to begin recording. For iPhone X and later, or iPads with iOS 12 or iPadOS, swipe down from the upper right corner.
Step 6
If you wish to record without using the microphone, tap the recording icon. A 3-second countdown will start, and recording begins. You’ll see a red line at the top of the screen with the word “Recording” to indicate it’s capturing everything on the screen.
Step 7
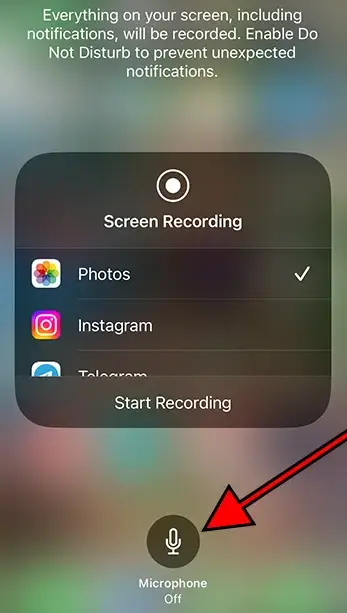
To record with the microphone, useful for explanations or adding commentary, press and hold the record screen icon, then toggle the microphone on. Afterward, tap “Start recording,” and a 3-second countdown initiates the recording.
Step 8
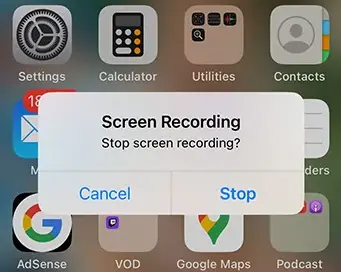
To stop recording, you can open the Control Center (as mentioned in Step 5) and press the “Stop recording” button or tap on the red line in the status bar at the top of the screen and select “Stop.”
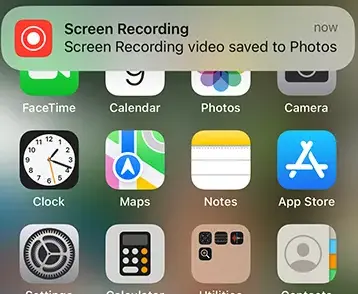
Step 9: Your iPhone 14 will display a message at the top of the screen indicating that the screen recording video has been saved to “Photos” (formerly known as the Camera Roll). To view and share your screen recording, go to the Photos app, where you’ll find it in the most recent position.
With the internal memory options of 128 GB, 256 GB, or 512 GB, your iPhone 14 allows you to store these screen recordings as videos.
Where I can see my saving Screen recordings in iPhone 14/14 Pro/14 Pro Max?
Screen recordings on your Apple iPhone 14 are saved in a couple of places:
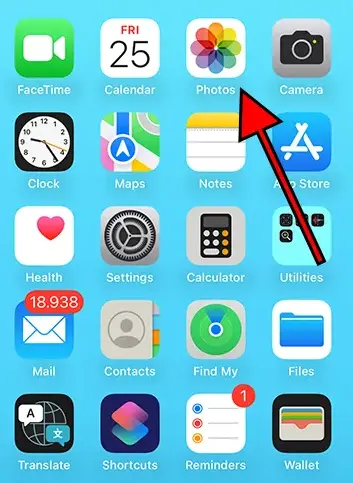
Recent Images
You can find your screen recordings alongside your regular photos and videos in the gallery. The icon for this gallery looks like a colorful flower with petals of different colors. Just go to your home screen and tap on this icon.
Specific Folder
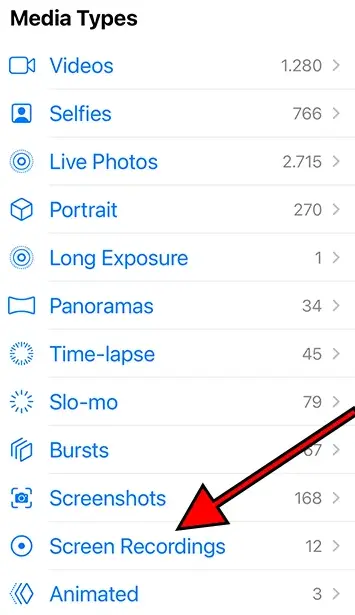
Your screen recordings are also stored in a specific folder. To access this, open the gallery, and look for the “Screen recordings” category under the “Media Types” section. When you tap on it, you’ll see all the screen recordings you’ve made on your iPhone 14.
It’s worth noting that these screen recordings are saved in the MP4 format, making them easily accessible for viewing and sharing.
How to Record Screen in iPhones?
FAQs
Is this method works in all iPhone Devices?
No, this method is only works on all iOS 11 or recent versions iPhone Devices Only.
Does iPhone 14 have screen recording?
Yes, iPhone 14 have inbuilt screen recording features.
Recommended Articles:


